By Vani Pahwa
Vani Pahwa is a Functional Fitness specialist with over fifteen years of experience, and certifications from leading internationally-accredited and globally recognized fitness institutes.
Sought after for her multi-disciplinary fitness modules and expertise, Vani has conducted fitness workshops for leading corporate houses, conditioning and training camps for various sports communities, personal training programs for CEOs of multi-nationals, athletes, junior and senior sports professionals among others.
For queries and individual customised plans, or any fitness concerns, visit www.bodyinmotion.in or write in at contact@bodyinmotion.in
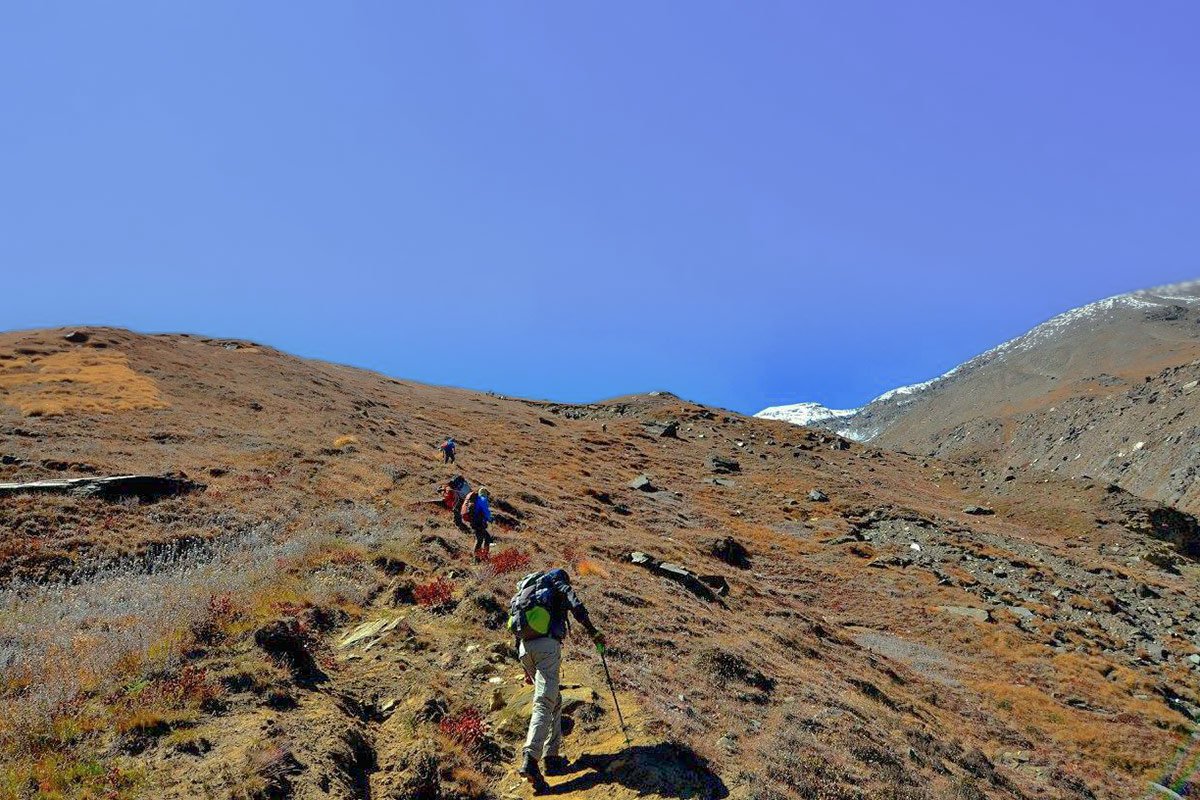
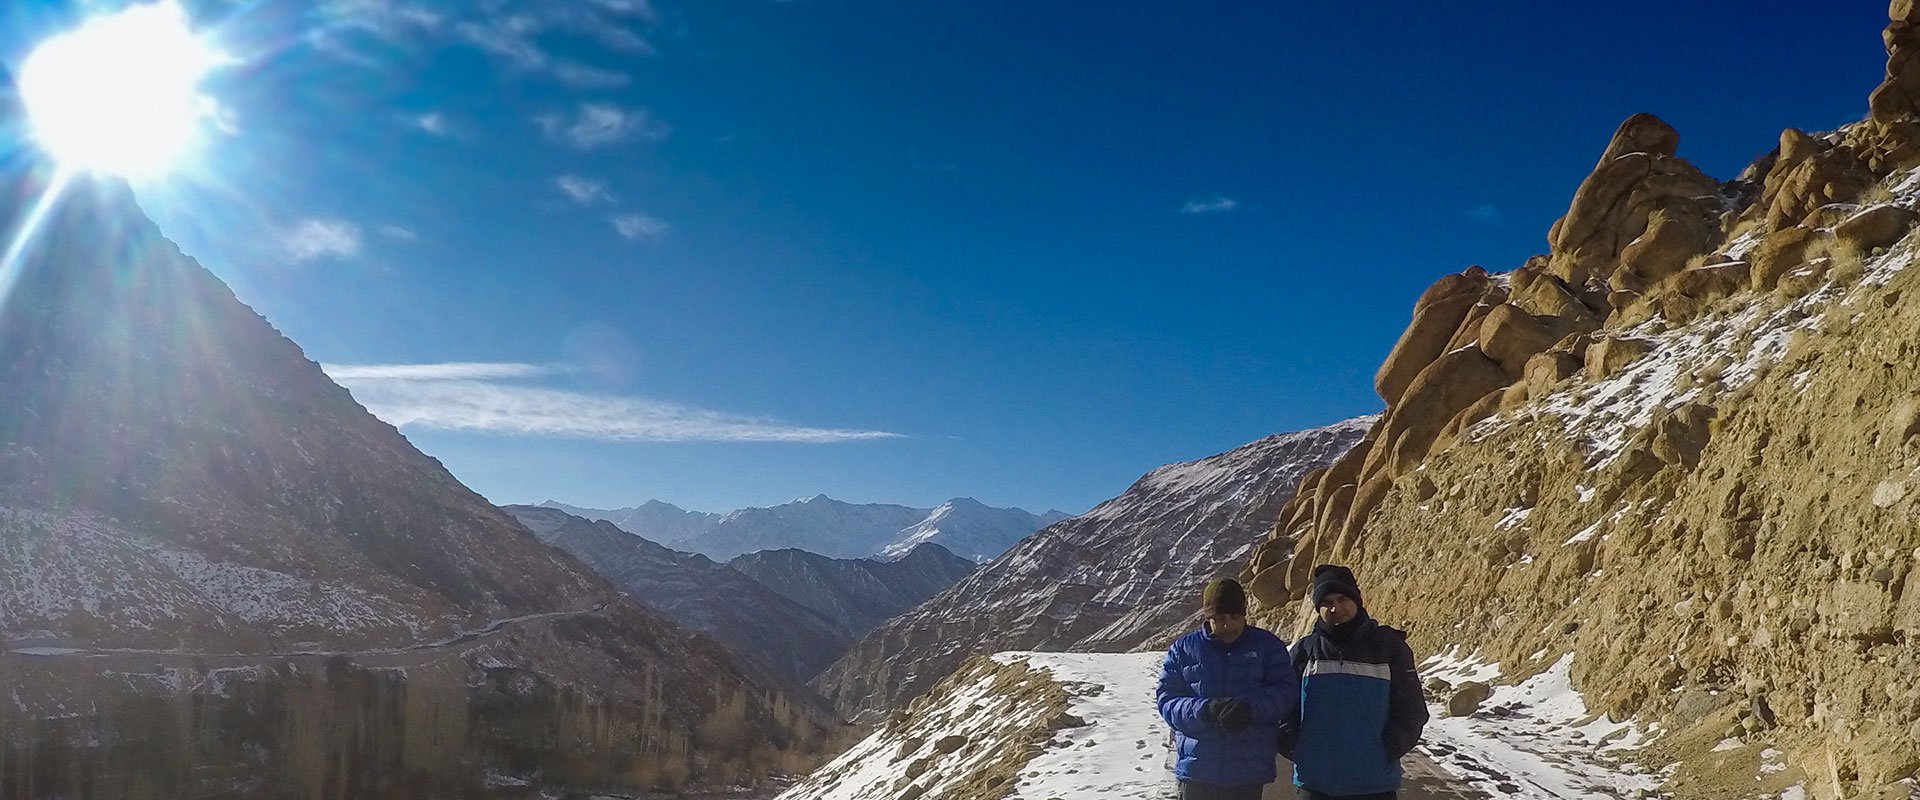
So you are off on a trek. Or deciding maybe. You are headed out the door and into Mother Nature’s lap. Yippee!! A trek is not easy work. Without adequate preparation, it becomes even harder. If you plan on doing it based purely on inspiration and dreams, you could be in for an unpleasant surprise.
Trekking (especially high altitude) presents multidimensional challenges. The last thing you want to do is to hit the trail mentally and physically unprepared. Proper preparation significantly increases the quality of experience, chances of success and reduces the propensity to stress and injuries.
Mental Preperations
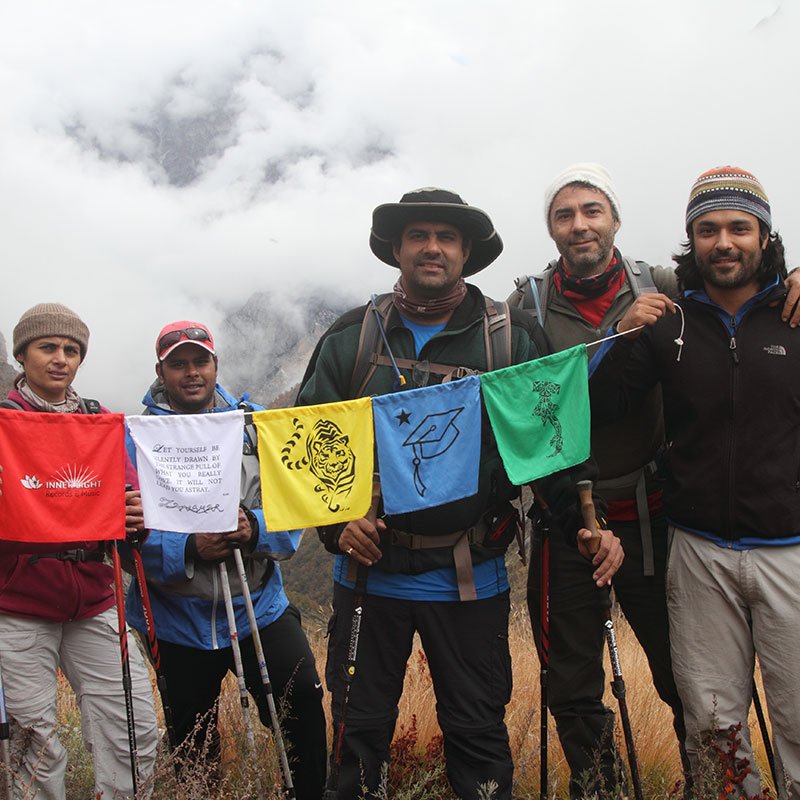
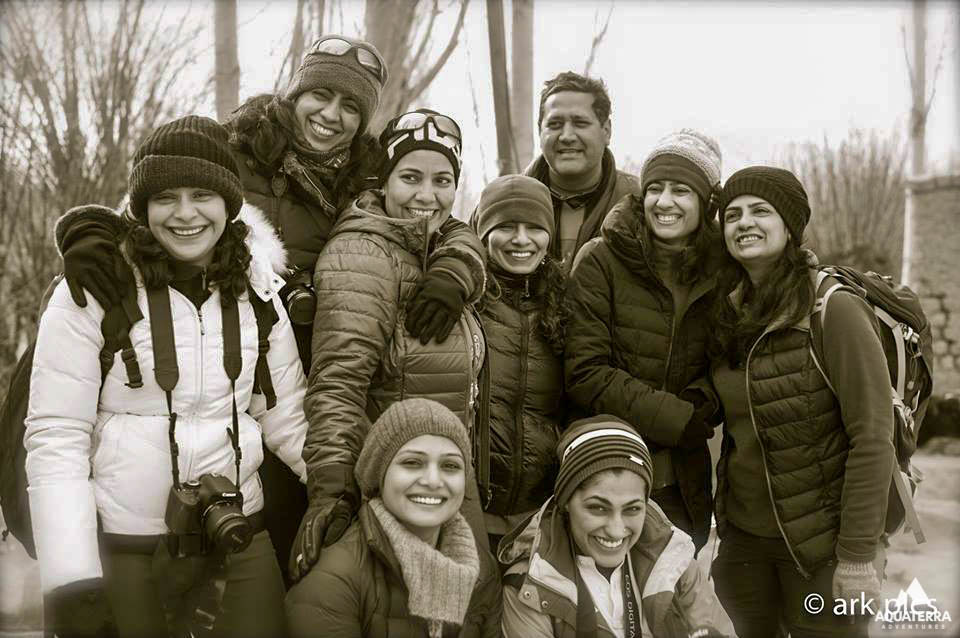
Attitude will be as important as anything else you’ll carry on your expedition. Keeping an open mind, nurturing resilience and carrying along a sense of humour will enhance the experience manifold and ensure you bring back a goody bag of cherished memories.
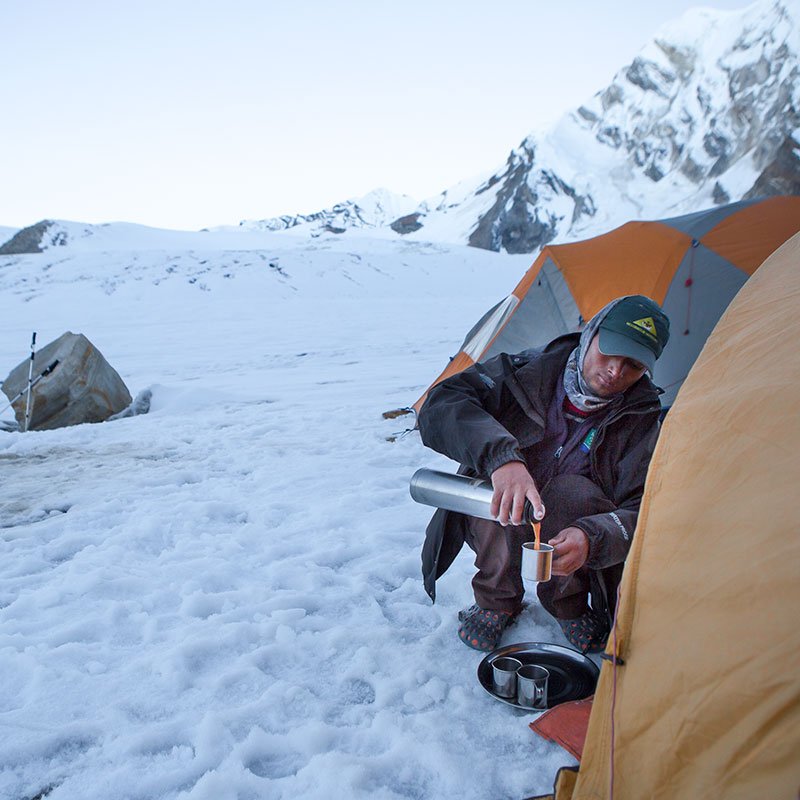
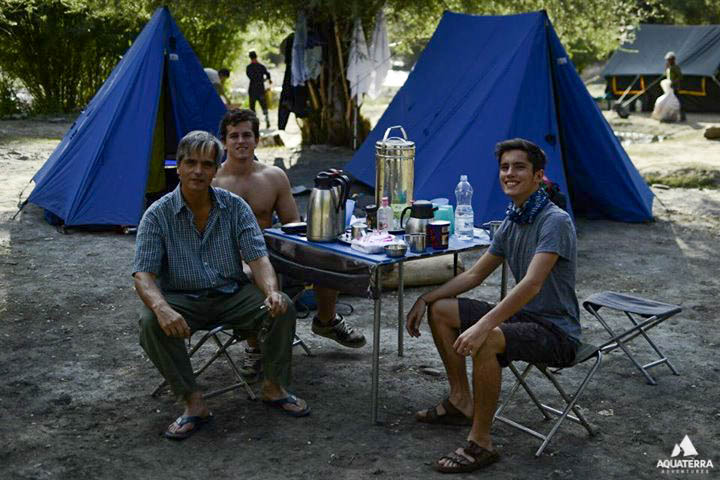
While things can be planned to the last detail, exigencies and unforeseen situations do crop up, especially in back of beyond. Carrying a fit mind with a fit body becomes a crucial element of the process of coping.
Being able to pull out a smile or laugh at the end of the day under open skies is a life changing experience in itself. Learning to take small steps with the mind (as often literally with the feet) on the trail helps prepare one for the daily challenges needed to reach the goal.
Physical Preparation
Preparation (training -volume, intensity, duration) will depend upon the intensity of the challenge and your current health and fitness status. Accordingly, you may need to start preparing 3-6 months prior.
It’s best to follow an individual plan based on personal parameters and choose from several options, based on relevance and what’s available at hand. However, a few essential components of training and some exercise options that can be easily incorporated are covered below.
It’s recommended to address these adequately before embarking on the trek. The sample program included indicates one way of getting up and about with training.
Aerobic Fitness
The term ‘aerobic’ essentially means ‘in presence of or with oxygen’. Aerobic exercise is commonly referred to as ‘cardio exercise’. It causes the heart to pump oxygenated blood to deliver oxygen to working muscles.
Aerobic exercise stimulates the heart rate and breathing rate to increase in a way that can be sustained for the exercise session but not so much that you can’t sustain the activity for more than a few minutes, which would be the case with anaerobic exercise. (‘Anaerobic’ means ‘without or in absence of oxygen’).
Since trekking is more about sustained endeavor rather than bursts of energy, it is important to build one’s aerobic capacity.
Options: Some options of aerobic exercises include walking, running, cycling, swimming, skipping, hiking, kickboxing, cardio machines at the gym, sports, interval/circuit training, stair climbing etc.
*Aerobic exercises can be turned anaerobic if performed at a high enough intensity. Building both (aerobic/anaerobic aspect) can be a helpful goal, though not essential for our purpose.
Frequency: Consider three to four days a week. Later you may add a day or two more as you progress and as per demands of the expedition. Allow one day rest (minimum) for proper recovery.
Volume/Intensity: Start small, start slow. Gradually increase capacity. Follow an inverse relation between volume and intensity or increase one at a time keeping the other constant.
So, if you increase volume (duration) keep intensity same (or reduce it even) and if increasing intensity, maybe start with reducing volume. As your capacity develops aim to gradually increase both in your sessions in sensible increments.
Strength:
Trekking (and any outdoor activity in general) requires multiple sets of muscles, connective tissue (tendons/ligaments) and joints to work together and deliver.
The dominantly used ones include those of the legs (quadriceps, hamstrings, calves including the Achilles tendon), glutes (buttocks), hip, core muscles (abdominal and back muscles) and muscles of the upper back (needed for carrying backpacks).
Resistance training is a great way to fortify these and increase movement efficiency. There are several exercises that can be performed for building strength. Here are a few that can be used for effectively targeting the required muscles.
Images and short videos demonstrating movements (including some variations) are included for easy referencing.
-
-
Weighted Squats
Stand with feet hip-width apart, toes pointing forward. Push the hip back and out, bend knees and lower to a sitting position (as if sitting on a low chair). Ideally, thighs should be parallel to the floor or slightly lower, with knees not pushing past the toes.
Feet firmly planted, push through the heels, squeezing your glutes together, keeping chest up and lower back firm to come up to standing position. For weights, you could use dumbbells, kettlebell, sandbags, backpack (equivalent or nearly equal to trip weight) or even big bottles filled with water/sand/small pebbles.
Weights can be held by the sides or over the shoulders (dumbbells/bottles), close to the chest (kettlebells, sandbags) or over the back (sandbags, loaded backpacks). For beginners start with hands resting on the hips or outstretched at shoulder level to perform squats with good form before progressing to weights.
-
Travelling / Walking Lunges
Hold dumbbells (or filled up bottles- sand/water/pebbles) by your side or wear your loaded backpack. Step one foot forward, feet pointing straight. Maintain a firm upper body posture, look straight ahead. Lower body weight straight down (lunge) aiming for a 90-degree angle of the lunging knee (the lunging knee should not go past the toes).
The knee should track forward (neither turning in or out). Press up firmly from the bottom of the foot (of the lead leg) to straighten up. Bring the other leg forward now to repeat lunge. So you’ll be lunging and stepping forward.
-
Stability Ball Glute Ridge
The instability and bounce of the stability ball activates the stabilizer muscles more deeply than the simpler bridge exercise. It also targets the hamstrings more intensely and this version of the bridge exercise is a challenge worth adding. Lie on your back, arms by your side and your feet planted on the stability ball.
Slowly lift your hips off the floor as you do in a regular bridge. Squeeze your glutes at the top of the movement. Gently lower hips to the floor. For added challenge keep your hips off the floor between reps. Go slow and build endurance with the basic version first. To tone it down you could start off by placing feet on a stable surface like a bench or a firmly rooted chair and then progress to the ball. Beginners begin with floor bridges.
-
Step Ups
Select a high step, platform or stable stool/box for this. Place one foot on it and press through the heel to lift body weight and the other foot off the ground. Slowly reverse the motion to roll the back foot to the ground from toes to heel, avoiding jerks.
Or you could lift the back foot to bring it to meet your right foot on the platform. Change lead leg to repeat the step up on the other side. Perform same number of counts on both sides. So you could step up with R foot and roll down the L for chosen repetitions, and do the same with the leg positions reversed (Video Option 1) or you could step up with R foot leading and L following for repetitions and do the same with the L foot leading for same count or alternate leg switches (Video Option 2). To take it up a notch, add trunk rotation at top position (Video Option 3).
-
-
-
Single Leg Deadlift
Stand straight, chest upright, shoulders squared and back. Hold kettlebells or weights in both hands. Keep the back strong and hinge forward at the hip balancing on one leg, lifting the other leg straight back, keeping it stiff behind while simultaneously lowering chest towards the floor.
Root the foot of the balancing leg by stabilizing on all 5 toes and keeping the heel firm on the floor. Keep the knee of the supporting (standing) leg slightly bent while hinging forward. Continue lowering the weight gradually bending forward till the chest is parallel to the floor.
Maintain spinal alignment (there should be no rounding of the back). To hinge back to upright position lock your stabilizing leg, squeeze the glute and come up slowly to start position, straightening the knee of the supporting leg. Perform the same number of repetitions on both legs.
-
-
-
Reverse Lunges with Back Rows
Use resistance bands for this if possible. Stand to face the anchor points of the band (either 2 bands anchored to a support or one band used around a support). Hold both grip handles and step back with one leg in a lunge position (reverse lunge) pulling the handles of the band in a rowing motion.
Keep the core tight and torso upright as you pull the elbows backward. Squeeze (contract) the back muscles as you perform the row back action. Keep the lunging knee at 90-degree angle as you lower to the ground. As you push up from the lunge extend the arms forward allowing the back muscles to expand.
Repeat pattern on the other leg. Alternate between legs for lunging back, rowing with the arms each time for desired repetitions.
-
-
-
Sideways Sliding Lunges
Stand straight and tall with a sliding board (gliding disc/paper plate/ towel or anything that allows the foot to slide across the floor) placed under one foot. Slowly allow this leg to slide away from the body simultaneously bending the other knee and sitting back into a squat until you reach the maximum stretch of the groin where you can still maintain balance and a proper trunk, hip or knee alignment.
Pause at the bottom for a few seconds and slowly slide leg back to upright position. Both feet can be pointing forward or the sliding foot could point out sideways. Switch sides after the desired number of repetitions have been performed.
-
-
Push Ups
Choose level/position of the pushup as per ability. The goal is to do the movement with good form and control rather than perform mere repetitions. For a good push up keep arms close to the body, maintain a straight body line, hands slightly wider than shoulder-width apart and feet set up in a way that feels comfortable and strong (feet position varies for people).
Demonstrated is an incline push up version that helps build a base to progress to good regular push-ups. For this, position yourself at a distance from the bar/bench/box (whatever elevated surface you are using to perform incline push-ups) so that when you lower your body the mid to lower chest touches the object.
Keep the elbows close to body and abs braced. Push up till arms are straight; maintain body line through all phases. Squeezing the glutes on the up phase can lend to greater stability of movement. As strength and control develop try variations for extra challenge and greater muscular engagement such as adding weighted single arm rows to the exercise.
-
Abdominal Cycles
Lie flat on the floor with hands placed gently behind your ears. (This usually works out better than ‘hands-behind-head’ position as most people tend to push the head forward with the hands while doing this exercise leading to poor form and neck stress.)
Keeping the abdominal muscles braced bring your knees in towards the chest and lift the shoulder blades off the floor. Make sure not to pull on your neck. Straighten the right leg out to about 45-degree angle to the ground while turning your upper body towards the left, bringing the right elbow towards the drawn in left knee.
Switch sides extending the left leg and turning torso to right to bring the left elbow towards the incoming right knee. Focus on twisting from the waist, not just driving elbows in and out. This completes one repetition. Perform the desired number keeping good control and form.
-
Planks (Holding & with Movement)
Get into the push-up position on the floor. Now bend your elbows at 90-degrees resting your body weight on forearms. Palms can be flat on the floor or you can clasp your hands making sure that shoulders are aligned vertically over the elbows and the body maintains a straight line from head to feet (no sinking back or butt jutting out in air).
Keep ab-muscles braced. Hold the position for as long as you can but don’t hold your breath.
Aim to be able to perform 2 minute holds without losing form. Don’t be disheartened if even 30 seconds starting out seems a challenge.
This builds strength not just in the core but also in the shoulders, arms and glutes. Once you get good at holding planks start out with 30-second holds and then lift feet out and in or up and down one by one maintaining body alignment as for static planks.
-
Side Plank Rises
Begin by lying on your side with your supporting elbow placed under the shoulder (in line with it) and forearm perpendicular to the body. Legs can be straight out or bent at the knees (latter being easier). Stack top foot on the bottom foot.
Raise your hips up, pressing down into the ground through the supporting forearm, to come up to side plank position, creating a straight line from head to feet. Lower the hips slowly back to the floor then up again to side plank position.
Maintain body alignment through both phases (up/down) of the exercise. Beginners could take the support of the floor with the other hand placed in front of the body and progress from there. Repeat plank raise on the other side. For added challenge don’t allow hips to touch floor on downward movement.
-
Kneeling Extensions
Come to a hands and knees position on the floor. Keep wrists aligned under shoulders fingers pointing forward, knees aligned below the hip and the spine and neck in a neutral position (no sag or hunch in the back and back of the neck in line with spine).
The side profile should resemble a table top with the limbs acting as straight legs. Engage your abs, don’t hunch shoulders and slowly extend your right arm forward as you lift the left leg behind you. Do the limb lifts simultaneously taking care not to disturb the spinal alignment.
Lift to a height that allows you to maintain body line. Hold for 5-10 seconds. Gently lower arm and leg together back to start position. Repeat on the other side now. Keep the core engaged while alternating sides focusing on maintaining balance and stabilizing the torso, pelvis, and shoulders throughout. To up intensity, you can perform this exercise wearing ankle and/or wrist weights. You can also add curls between extensions.
Later you could add full body exercises like Mountain Climbers, Spiderman Walk, Burpees etc. to get a full body workout with a cardio blast to boot. They can be done as a circuit on their own or interspersed with other exercises (including those mentioned above) depending upon current fitness levels. They help boost power while training smart (good choices to cut down exercising time yet extract good fitness gains).
FREQUENCY: Consider three to four days a week depending upon the workout plan and intensity followed. Give a day of rest between working out the same body parts for rest and recovery. This will help prevent overuse injuries.
VOLUME/INTENSITY: Generally speaking, start with 8-12 repetitions and slowly increase the count. For most of the exercises mentioned above build your capacity to perform 3-4 sets of 15-20 repetitions.
As you increase repetitions lower or keep the weight constant. Gradually increase both as strength builds.
Balance:
Balance is a key functional component of body’s static and active state and an indicator of joint and muscle equilibrium. It builds quicker responses, improves coordination and posture and enhances physical performance. Needless to say, good balance helps one cope with uneven terrain and greatly reduces the propensity to injury. Hence, focusing on building balance makes sense. Plus, it doesn’t take much.
The easiest way to build balance is to stand on a single leg and stay as stable as possible. And then shut your eyes! Performing single leg versions of exercises (such as single leg squats), changing directions (balancing on one leg and reaching out to different clock times on the floor with the other foot or with the hands, changing body direction between repetitions and so on), using unstable surfaces (such as BOSU, trampoline, wobble boards) etc. are some other ways. The versions of some exercises mentioned in the Strength section work upon balance too.
*Performing exercises barefoot enhance neuro proprioception which helps builds balance.
Here are a few balance building exercises you could try:
-
Tree Pose
Stand straight with arms by your side and body weight evenly distributed across both feet. Shift your weight to your left foot. Bend the right knee, clasp your right ankle and bring up the right foot to rest at a point on the inside of the thigh/leg that you can hold (above or below the knee).
If possible draw up the foot to the groin area. Hips should be squared forward and the bent knee should be angled out sideways. The right and left hip should be aligned.
The hands can be held in prayer position at chest level or extended overhead, pulling the torso upright. Fix your gaze at a point ahead and hold the pose. Progress to shutting your eyes for as long as you can maintain balance in the pose. Try the same on the other side.

-
Heel-Toe Rocks
Stand straight with feet pointing forward. Slowly roll back and forth from heels to toes, performing complete range of motion through the ankles. Hold each position for few seconds for added challenge.
-
Hip Flexions with Variations
Stand with feet hip-width apart. Stabilize your core (abs and back) and flex one leg from the hip at 90 degrees. Use all the toes and the bottom of the supporting foot to balance your body weight in this stance.
Try not to lean. In the simplest version fix your eyes on a spot straight ahead and hold the stance for as long as you can. To further add challenge, incorporate any of the following options:
1. Shift the gaze continuously at different angles or follow a moving object
2. Move the arms in different directions
3. Turn the torso at different angles
4. Play with a ball tossing it between the hands
5. Shut your eyes -
Balance Challenge
Stand on one leg and have a partner gently nudge you at different angles as if trying to throw you off balance. Try to be as stable as possible with minimal movement. If alone, imagine you are ducking a missile at various angles, bend and twist at various angles and go as low as you can.

-
Single Leg Hops
Stand on one leg and hop as far forward ay you can without losing balance and then immediately hop back to start position. Hopping forward and back is one repetition. Continue for counts or set to time.


Flexibility:
Being able to perform any movement completely and with ease is a function of flexibility. Flexibility determines the range of motion around joints and limberness of muscles, hence controls the quality of movement. Many injuries and musculoskeletal stress result from compromised flexibility. So it’s important to focus on it.
It’s equally important to build dynamic and static flexibility. Yoga is a wonderful discipline to build both.
Dynamic flexibility/dynamic stretches are essentially stretching exercises performed in motion. They can be utilized for warm-ups since they warm up the core and other muscles, and wake up the neural system. This preps the body for action.
Perform a good 10-15 minute warm up before beginning a workout and before setting out for the day while on a trek. Shoulder rotations, arm and leg swings, trunk rotations, squats, lunges, hip extensions, back curls, on the spot jogging, dynamic hamstring stretches, neck rotations(side to side / up-down) and calf raises are some that can be done for 10-15 counts.
Static flexibility/static stretches are stretches performed without motion where the stretch is held for a specific amount of time. These are performed at the end of workouts. Aim to hold these stretches for 20-30 seconds each. Perform these at the end of your trek each day. This will release and prevent a buildup of muscular soreness/tightness and make the next day easier. Focus especially on muscles of the lower body and back.
For an illustrated list of some useful stretches click here.
Sample Plan
- Before embarking on any fitness plan it might be advisable to consult your doctor and get medical clearance, especially if you have had injuries or health issues.
- This plan is only a roadmap. Your actual plan, choice of exercises and progression would depend upon your current level of physical activity/fitness and the challenge of the trek you are preparing for. The important point is to get regular and train in time.
- Train smart. Plot the time (weeks) needed to get fit for a trek based on how much time you can devote throughout the week for training and your current fitness level. Be realistic and sensible. Your choice of training activities/exercises and intensity should be based on where you are (fitness wise) and where you aim to be.
- Try and mirror the demands of the trek to the extent possible such as using nearby hills/hillocks/elevated patches/trails to walk, carrying back packs, or hitting the stairs if staying in flat terrains etc. It doesn’t have to be anything complicated. Aim for functional and relevant.
- It assumes a base fitness level. Scale it up or down as the need may be. You may substitute any of the cardio/aerobic options mentioned above. It’s recommended to work on walking/hiking (plains as well as inclines) and stair climbing options. If you lack access to hills, use the incline feature of a treadmill.
- If tired or under the weather, it’s strongly recommended to scale down or take rest and not push on.
- While exercise induced soreness can hit a bit later (DOMS – delayed onset of muscular soreness) and to varying degrees, learn to distinguish between soreness and (sharp) pain. Soreness settles and is a sign of working the muscles but pain should not be ignored.
- Good nutrition, proper sleep and hydration are constants to any plan you may follow. Pay adequate attention to these since they affect strength, recovery and performance.
| Week | Mon | Tue | Wed | Thur | Fri | Sat | Sun |
| Rest | Cardio & Strength** | Rest/Yoga | Strength/Intervals** | Yoga/Balance* | Long Cardio | ||
| One | Rest | 20-30 minutes cardio (choose any activity mentioned in the aerobic section);
Strength Exercises 8/9/10; Stretches/Cool down |
REST | 10 min warm up;
Strength Exercises 1/3/7/12; Stretches/Cool down |
Yoga | Rest | Walking/Hiking
Aim for 40-45 minutes. Comfortable pace |
| Two | Rest | 20-30 minutes cardio;
Strength Exercises 8/9/11; Stretches/Cool down |
Rest/Yoga | 10 min warm up;
Strength Exercises 2/5/7/12; Stretches/Cool down |
Yoga | Rest | Aim for up to an hour of walking or hiking. Gentle inclines. Comfortable pace. |
| Three | Rest | 20-30 minutes cardio; Strength Exercises 8/10/11;
Stretches/Cool down. |
Yoga | 10 min warm up;
Strength Exercises 1/4/6/12(with curls); Stretches/Cool down |
Yoga | Rest | 1-1.5 hour of hill walking/treadmill |
| Four | Rest | Stair climbing (aim for a few floors). Choose upper body and core exercises.
Stretches/Cool down. |
Yoga | 10 min warm up;
Strength Exercises- Choose 4-5 lower body exercises or perform a circuit of body weight exercises like mountain climbers, burpees, spiderman walks etc. Stretches/Cool down |
Yoga | Rest | 2 hour hill walk with breaks if needed. |
| Five | Rest | Stair climbing. Add back pack.
Core exercises. Stretches/Cool down |
Yoga | 10 min warm up;
Intervals or Mix of lower and core exercises. |
Yoga | Rest | 2.5 hours hill walk with varying tempo |
| Six | Rest | Brisk walk for 45-50 minutes | Rest/Yoga | 40 -45 min brisk walk on incline. | Rest/Yoga | Rest | 2.5-3 hours hill walk at a steady pace |
| Seven | Rest | Stair climbing with back pack (add a few more floors as per capacity).
Core exercises. Stretches/Cool down |
Yoga | 10 min warm up;
Intervals or Mix of upper /lower body and core exercises. Aim for including some tougher variations. |
Yoga | Rest | 2.5-3 hours hill interval walk (Vary pace. Try and hit a few inclines at a faster pace too.) |
| Eight | Rest | Brisk walk for 45-50 minutes | Rest/Yoga | 40-45 min brisk walk on incline. | Rest | Rest | 3-3.5 hours hill walk at a steady pace |
By the end of the 8th week, you are much closer to enjoying your trek!
The program can service both 6/8 weeks plan. If following the 8-week plan, use the 6th-week taper as is, or repeat the seventh-week plan if you feel fit enough.
The above is one of the sample plans; there are several options that can be tailor-made especially for YOU! Feel free to write in
*Yoga asanas help to build balance too.
** For strength exercises progress gradually with repetitions and sets. Select the base versions of exercises before progressing to weights or variations. You could combine exercises in many ways. Make sure you target all the muscle groups for best results and don’t overload the same set repeatedly.
Practice walking and stair climbing with loaded backpacks weighing similar to what you need to carry on the trek. Aim for variety in cardio exercises to reap more benefits and stave off boredom.
It also helps offer choices for long cardio days, especially when strapped for time. For instance, you could sometimes substitute the long walks with comparatively shorter duration runs and/or cycling (you could hit inclines as you get fitter) at a pace that pushes reasonably but doesn’t over exert (ensure you build your capacity to do these activities in a safe, progressive manner).
While watches and heart rate monitors can help provide precise heart rate readings, you don’t necessarily need to invest in one to determine how hard you are working. Calculating percentages of heart rates to hit the ‘zones’ may not appeal to all. You just need to know that you are pushing hard enough for the goal at hand.
The effort of the activity should not leave you gasping but it should make having long conversations a challenge. On a scale of 1-10 (1 being minimum and 10 maximum) of exertion, aim to be in the 5-7 zone depending upon the duration of the activity. This intensity needs to be reflective of the challenge of the adventure, so you may need to stay in an even higher zone for some part of training for challenge readiness. As you become fitter you’ll obviously need to increase intensity for similarly perceived exertion.
“The big question is whether you are going to be able to say a hearty yes to your adventure”- Joseph Campbell

")